 Skip to content


After tenant move-out, record the rental property as you find it. Do this during the final walkthrough, before cleaning, repairs or removal begin. A landlord move-out checklist supports a move-out inspection by recording property condition, changes and any work needed.
You don’t need to settle every repair or deposit decision during the first visit. Start with the tenancy records, then work through the property in a consistent order.
Key takeaways
- Confirm that the tenancy has ended lawfully before taking possession or arranging clearance.
- During the final walkthrough, compare dated photographs, video and written notes with the move-in report before proposing deductions.
- Keep belongings, repair costs, tenant communication and handover records together, with access limited to those who need them.
Start with the tenancy records
Confirm the tenancy has ended
Keep the tenancy agreement, notice, agreed departure arrangements and rent account together, including records of rent payments. Check any council tax records or liability separately.
Record the legal tenancy end date separately from the tenant departure date.
An empty property or returned key doesn’t, by itself, prove that a tenancy has ended. If departure is uncertain, seek housing advice before changing locks, removing belongings or re-letting. Rules differ across England, Wales, Scotland and Northern Ireland.
Make a note of who has authority to approve entry and subsequent work.
Agree the inspection arrangements
Arrange the move-out inspection, or final walkthrough, on or close to departure, preferably with the tenant present. Confirm the appointment and access arrangements in writing.
Bring the acknowledged move-in inventory, condition report, original photographs and records of repairs completed during the tenancy for comparison during the inventory inspection. If the tenant cannot attend, record that and send the completed report afterwards.
Ask for a forwarding address and preferred contact method. Explain how they can comment on the report and how any proposed deductions will be communicated.
Photograph and describe the condition
Take dated photographs and video
During the move-out inspection, photograph each room before moving contents or starting work. Take a wide view, then closer photographs of damage, staining, missing fittings or remaining belongings.
Include enough surrounding detail to identify the location. Keep the original files and their date information as photographic evidence, and record the inspection date, time and people present.
A steady video walkthrough can connect the rooms and show their overall condition during the final walkthrough. Still photographs are usually easier to match to individual inventory entries. Keep both where useful.
Write notes alongside the images
Photographs don’t record everything. Note odours, appliance problems, loose fittings and areas you couldn’t inspect safely.
Describe what you observed without guessing the cause. For a mark or damaged fitting, record its location, size and condition. Keep cleanliness, physical damage and maintenance concerns separate.
Use the images and notes together to create a clear record of property condition. Match each entry to the move-in report and its photograph reference. Where the earlier record is missing or unclear, acknowledge the gap. An uncertain starting condition needs careful handling before any charge is proposed.
A room-by-room landlord move-out checklist
During the move-out inspection, follow the same route and room names as the move-in inventory. This keeps the inventory inspection consistent. In the final walkthrough, record each area’s condition after cleaning and decluttering, its contents, photograph references and any action needed.
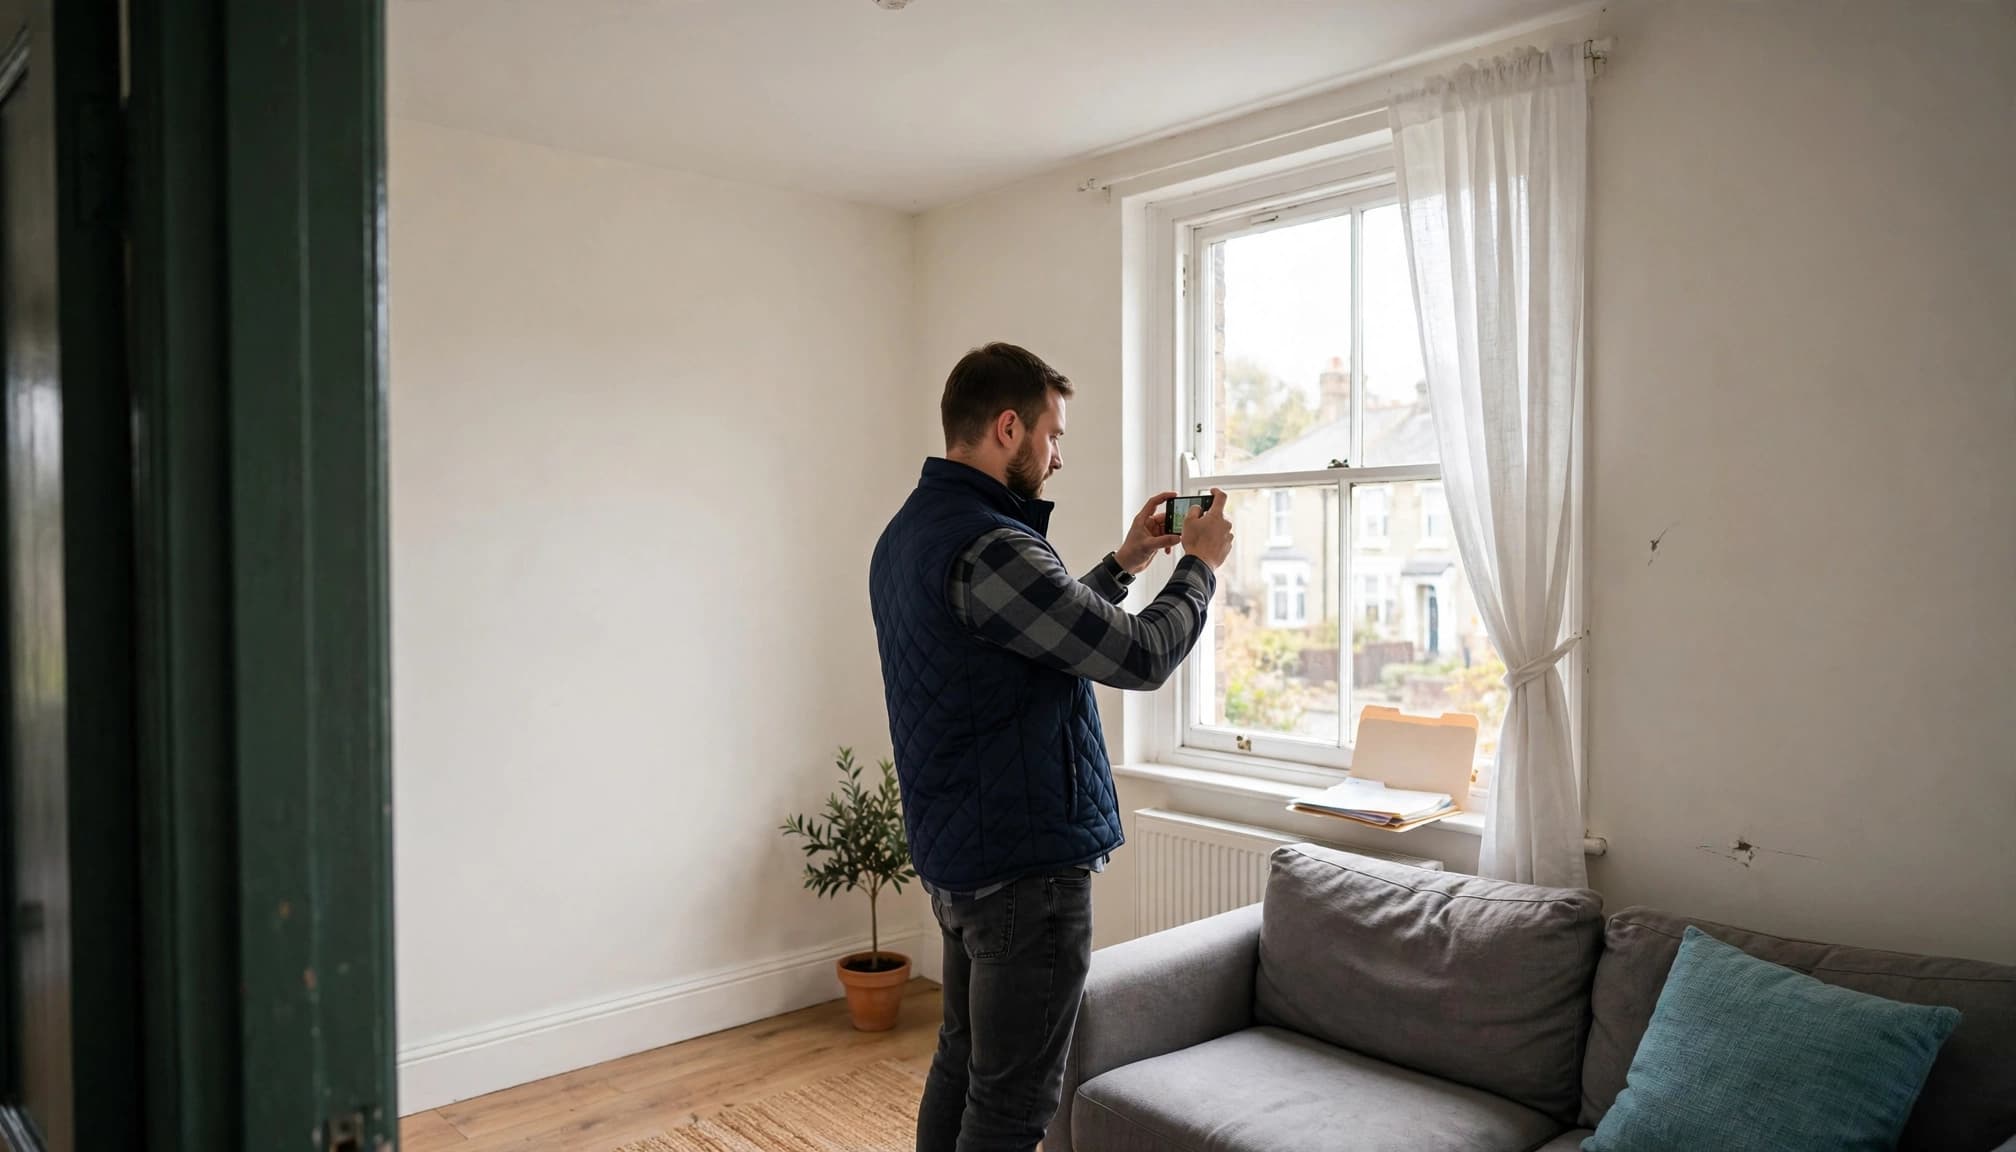
This checklist covers the main areas to document.
| Area | What to check and record |
|---|---|
| Entrance, hallway and stairs | Doors, locks, glazing, walls, flooring, handrails and any furniture or waste obstructing access. |
| Living and dining rooms | Walls, ceilings, carpets, curtains, furniture, visible sockets and signs of damp or staining. |
| Bedrooms | Mattresses, bed frames, wardrobes, drawers, flooring, windows and contents inside fitted storage. |
| Kitchen | Cupboards, worktops, sink, taps, tiles, appliances, grease, leaks, odours, visible signs of pest infestations and remaining food. |
| Bathroom and toilet | Sanitary fittings, taps, seals, grout, ventilation, mould, drainage and visible water damage. |
| Utility areas and storage | Supplied equipment, visible pipework, shelves, contents and any spaces that remain inaccessible. |
| Garden, garage and shed | Gates, fences, paths, landlord-owned equipment, dumped material and belongings left outside. |
Check supplied items against the inventory, including appliance accessories and furniture. Test only what you can safely operate. A visual check isn’t an electrical or gas safety inspection.
Don’t climb into unsafe lofts or enter areas with damaged flooring, sharps or suspected hazardous materials. Record the limitation and arrange an appropriate assessment.
Complete each room’s notes before moving on during the final walkthrough. This reduces missed details and makes the final report easier to follow.
Separate ordinary wear from damage
Allow for age and normal use
Ordinary wear develops through reasonable use. Light carpet flattening, faded paint and minor surface marks may fall within normal wear and tear.
Consider the item’s original condition, age, quality, expected lifespan, tenancy length and household size. During the final walkthrough, compare the evidence rather than assuming every difference is damage.
Keep existing defects and previously reported maintenance problems visible in the record. A condition that was present at move-in shouldn’t be presented as a new problem.
Assess damage and cleaning separately
Broken glazing, burn marks or missing landlord-owned furniture may indicate property damage rather than normal wear and tear. Any deduction depends on the evidence and responsibility.
Assess cleaning and decluttering against the starting condition. Record which surfaces or items need attention rather than describing the whole property as dirty.
Mould or water damage may involve leaks, ventilation or building defects. Get the cause assessed before assigning responsibility.
A replacement invoice shows what you spent. It doesn’t, on its own, establish what the tenant owes.
Record keys, meter readings and handover
During the final walkthrough, count returned door keys, window keys, communal fobs, garage remotes and other access devices against the original handover record. Note anything missing and ask the tenant to clarify it.
Photograph gas, electricity and water meter readings where meters are accessible. Include meter identifiers and the date, then record the status of utility services. Note supplier notifications and responsibility for utility services during the vacant period; don’t routinely disconnect them. Check rent payments separately from bills, and record any unpaid bills without assuming they can be deducted from the deposit.
Notify the relevant council of the departure, including for council tax. Check how council tax liability applies, as the tenancy circumstances and local process matter.
Once you have lawful possession, review contractor access and temporary codes. Check your empty property insurance conditions for requirements covering security, inspections, heating and utilities.
A short exit conversation can also help. Ask about unresolved repairs, recurring problems and whether earlier maintenance requests were dealt with clearly.
Handle belongings before arranging clearance
Treat remaining possessions carefully. Bags, furniture and cupboards may contain documents, jewellery, photographs or items with sentimental value.
During the final walkthrough, make a separate inventory and photograph belongings. Record where items are stored and who has access. Keep personal papers and valuables secure, away from anything approved for disposal.
Leaving possessions behind doesn’t automatically authorise you to discard them. Contact the tenant, retain communication records and check the applicable notice, storage and disposal process. There isn’t one fixed notice period for every situation.
In England and Wales, uncollected goods may need handling under the Torts (Interference with Goods) Act 1977. LandlordZONE’s tenant abandonment guidance explains why possession and remaining belongings need separate consideration. Seek advice where ownership is unclear, items are valuable or the tenant cannot be found.
Perishable food may require prompt disposal for hygiene reasons. Photograph it and record the reason.
Our guidance on lawful rental property clearance covers the checks needed before authorising removal. A clearance company cannot settle ownership or decide whether disposal is lawful.
Make deductions clear and evidence-based
Prepare an itemised deduction record
Prepare an itemised deduction list for any proposed claim against the security deposit. Link each claim clearly to the tenancy obligation, the evidence and the amount claimed.
Include these details:
- Identify the room, item and relevant tenancy obligation.
- Describe the move-in condition and the condition after the final walkthrough, with photograph references.
- Explain the proposed cleaning, repair or replacement, and why it’s needed.
- State the amount claimed, supported by an estimate, invoice or receipt, with an allowance for age and wear.
Keep estimates separate from invoices for completed work. Avoid charging twice for overlapping work or passing the full cost of an upgrade to the tenant.
Check deadlines and communicate promptly
Send the report and proposed deductions in writing. Give the tenant a clear opportunity to respond, and keep their comments with your evidence.
Check local law, the tenancy agreement or lease agreement, and the deposit scheme’s current procedure. Record rent payments and council tax issues separately, as their treatment depends on local law and the agreement. A contract clause doesn’t override legal restrictions.
For applicable protected tenancies in England and Wales, GOV.UK’s deposit protection guidance states that the agreed amount must be returned within 10 days of agreement. That isn’t a universal deadline counted from move-out.
The approved schemes include DPS, MyDeposits and TDS. If deductions remain disputed, follow your scheme’s evidence requirements, deadlines and dispute resolution process.
Keep records secure and plan the work
Maintain one controlled evidence file
Keep the inventory, photographs, video, correspondence, meter readings, utility services records, council tax records where relevant, key record, estimates and receipts in one organised tenancy folder.
Use room names and dates in filenames. Retain original photographs separately from annotated copies, and restrict access to people who need the records.
Use protected storage and a separate backup. Set a retention period based on legal, accounting, insurer and dispute requirements. Don’t keep personal information indefinitely without a reason.
Calendar reminders can track outstanding responses and inspections. If software drafts maintenance tickets, check them against the inspection notes before assigning work.
Agree cleaning, maintenance and completion records
Separate urgent hazards, routine repairs, cleaning and decluttering, and lawful clearance. Damaged sockets, leaks, broken glazing or pest activity may need assessment before general work begins.
Give contractors an agreed scope for maintenance work, a named contact and instructions about anything that must remain untouched. Agree an estimate to repair damages identified during inspection. After the final walkthrough, ask for completion photographs, invoices and a record of exclusions.
Our guidance on planning work after clearance explains why an empty, clean room may still need inspection, repair or property restoration.
If clearance or cleaning is needed, you can tell us about your property. Explain what remains, what must stay and what outcome you need.
Frequently Asked Questions
When should I complete a landlord move-out inspection?
Complete the inspection on or close to the tenant’s departure, before cleaning, repairs or clearance begin. First confirm that the tenancy has ended lawfully and that you have authority to enter.
What should I include in a move-out inspection report?
Record each room’s condition, contents, meter readings and returned keys, using dated photographs and notes. Compare the report with the move-in inventory and note any areas you could not inspect.
Can I charge a tenant for every difference from the move-in condition?
No. Consider normal wear and tear, the item’s age and starting condition, and the evidence before proposing a deduction. A replacement invoice alone doesn’t establish what the tenant owes.
What should I do with belongings left behind?
Photograph and list them, keep them secure, and contact the tenant before arranging disposal. Check the applicable notice and storage process, and seek advice if ownership or the lawful process is unclear.
Finish with a clear record and next step
A useful landlord move-out checklist links the starting condition to the move-out inspection, final walkthrough and any property restoration that follows. Record first, then make decisions using the evidence.
Keep possession, belongings, maintenance and deposit matters clear and separate. Document each decision so you can explain what has happened, what remains unresolved and what needs to happen next.
